I was busy making gift bags this weekend for my daughter's 9th birthday party and I thought to myself that it would make a great tutorial to share on my blog. This is my first tutorial so please let me know if anything more (or less) is needed.
Step 1:
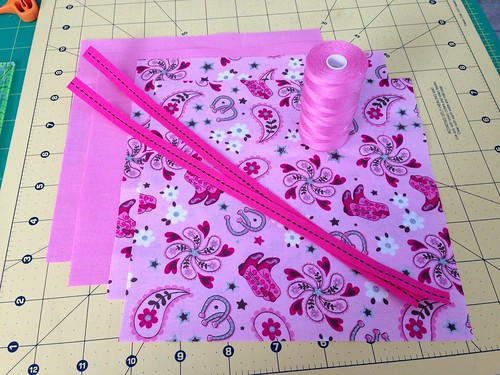
Supplies needed -
Lining - 2 - 7 1/2" Squares
Exterior - 2 - 7 1/2" Squares
Supplies needed -
Lining - 2 - 7 1/2" Squares
Exterior - 2 - 7 1/2" Squares
Handles - (2) 10" long pieces of ribbon. (Just a quick note here. I used a crossgrain ribbon. Its woven and a little stronger and easier to sew with than the shiny kind of ribbon. But be creative here. You can really use anything you want. A decorative rope or string of any kind would work.)
Coordinating thread - I used Connecting Threads thread. It was what I had in the color I needed.
And general sewing supplies. Scissors, ruler, cutting mat, pins, marking pen, etc.
Step two:
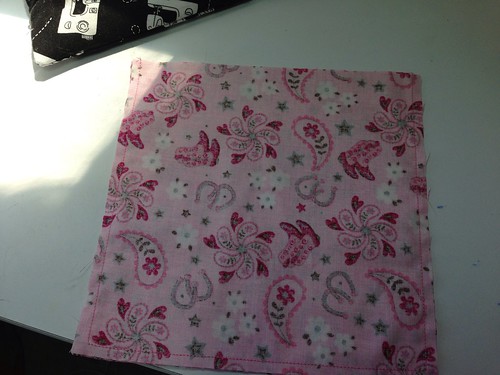
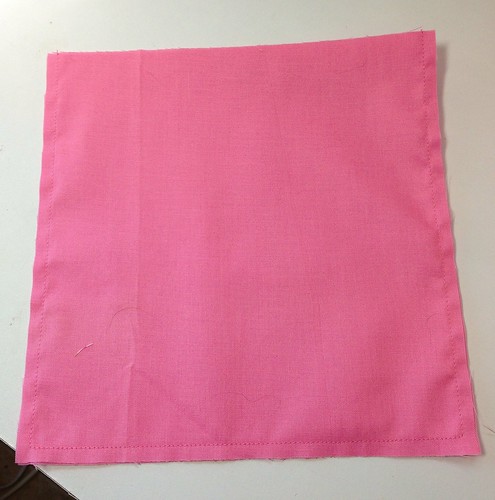
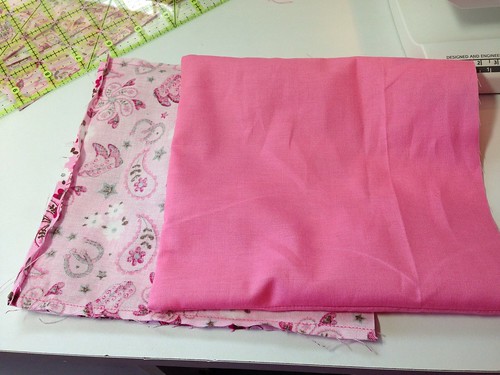
Sew around the sides and bottom using a 1/4" seam. Do not sew the top. See the diagrams below.
When you get to the corners pivot around them without stopping or cutting your thread by leaving the needle in the fabric and lifting the presser foot.
Do the same thing with the lining.
After this you are going to want to iron both pieces. I find it easier in the end to iron my seams open.
Step three:
Turn the exterior portion of the bag right side out. You don't need to be too picky about getting the corners just right yet. In this step we are just attaching the handles to the bag.
Using a ruler and a marking pen place small marks 2 inches from each edge of the bag. This is where you are going to place your handles. You will need to make marks on both sides of the bag.
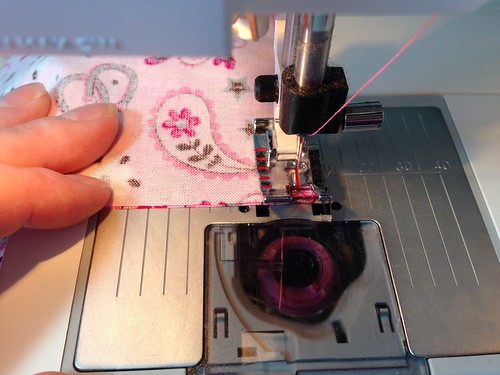
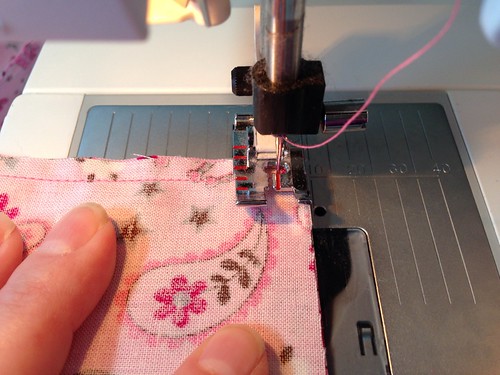
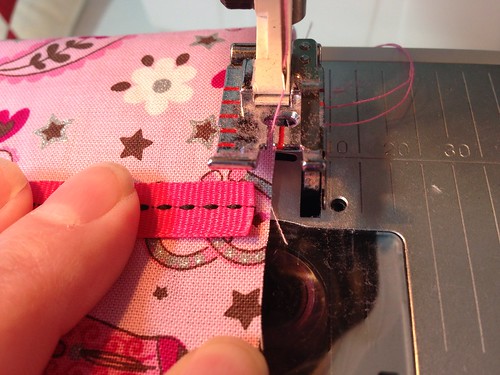
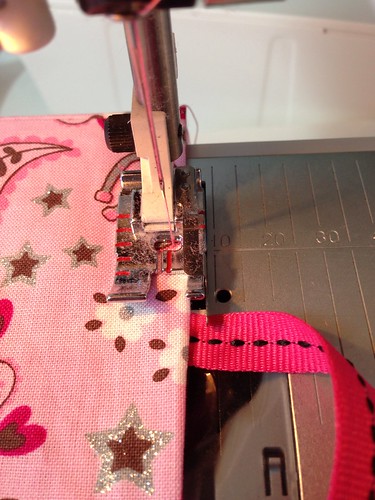
Next, we are going to attach the handles to the bag. You can pin here but I don't. I find the easiest way is to place your bag under the presser foot like above and then set the ribbon on top of your mark you made earlier. I try to center it over the mark. I find this part is easiest if you can use the free arm part of your sewing machine. The bag fits just right around my free arm. (Believe it or not I did clean my machine before I started this but something I was using was horribly linty and I was actually making 12 bags all at once)
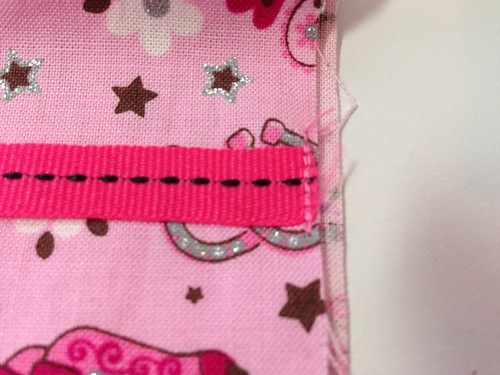
You are going to sew the ribbon to the bag using a small seam allowance. Probably about 1/8" if you can.
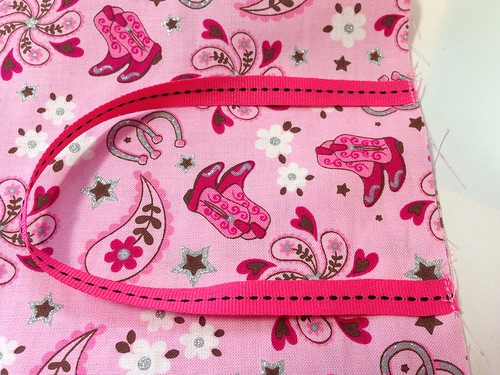
Now, you need to attach that same ribbon to the other mark on that same side of the bag. Be careful here so that you don't twist the ribbon. You want it to lay nice and flat.
You need to do this same process again on the other side so that you have both handles attached.
Step four:
Turn the exterior of the bag so that it is inside out.
Turn the lining of the bag so that it is right side out.
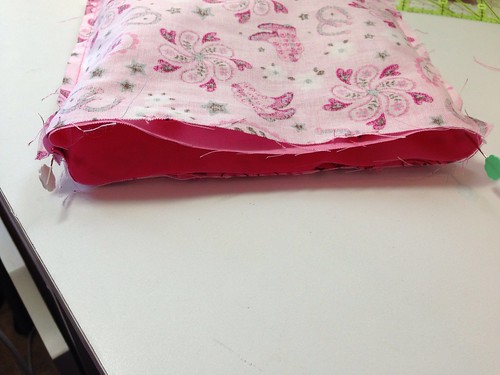
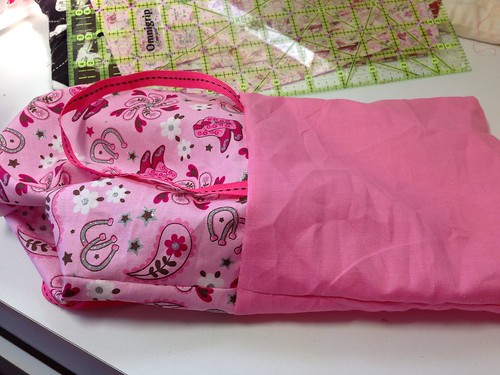
You are going to slide the lining of the bag into the exterior of the bag.
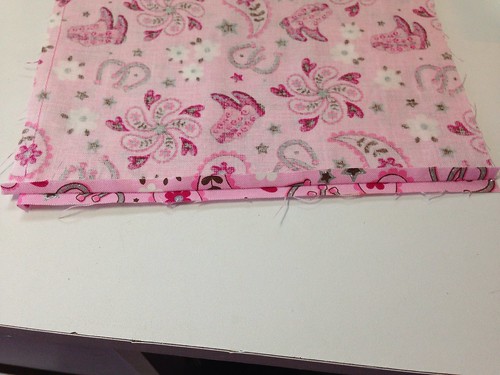
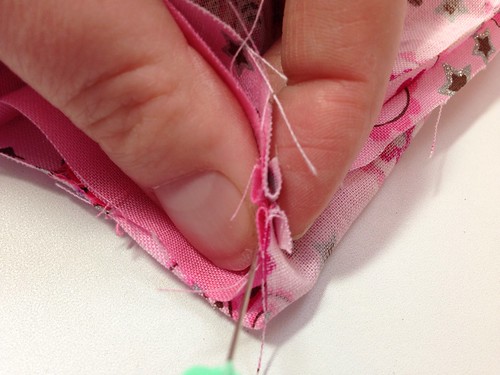
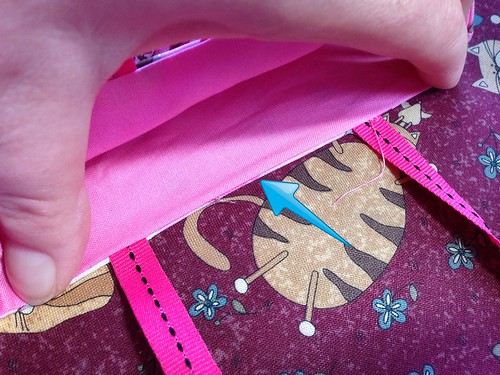
At this step you are going to need to pin the sides after lining up the seams. This is where it is helpful if you have pressed your seams open. You can see in the picture below how to line them up.
I didn't take a picture of it but I found that it was easier if I used a couple more pins around the sides of the bag too.
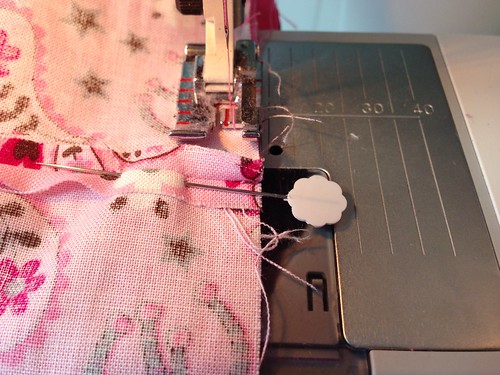
Now, you are going to put the bag back on the sewing machine. Now we are going to sew around the top of the bag using a 1/4" seam making sure the seams line up and stay flat on the sides.
a>
Start at a handle and ended at the other handle on the same side leaving a few inches open for turning the bag. I did back track at the beginning and ending of my threads so I didn't pull any out when turning the bag.
The sewing line goes all the way around the bag. This is another area where having a free arm is helpful.
Step five:
Now you are going to want to turn the bag right side out pulling it through the opening you left. If you find it too hard you can leave the opening bigger if needed.
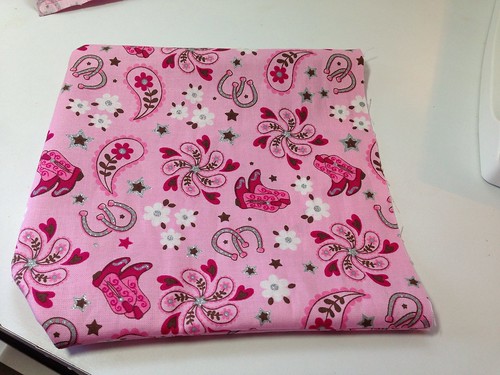
You are going to need to tuck the lining into the exterior of the bag. It takes a bit to get the seam at the top to look nice. I found using a pin to pull it out helped. Play with it a few minutes and get it to where it looks nice. When you are done you are going to want to iron around the top of the bag. You will still have the opening there so be careful when you are ironing to make sure the edges are turned in.
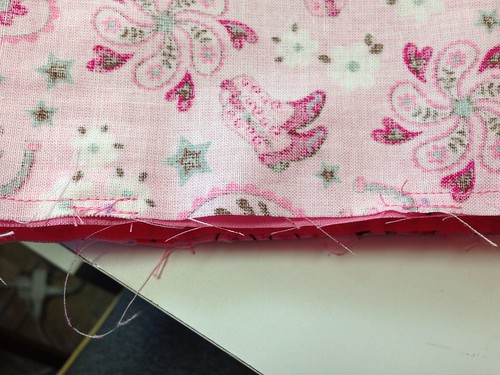
In the picture above you can see my opening after ironing around the top of my bag. There are some small threads hanging out of it.
Next you are going to top stitch around the top of the bag. This adds a nice finishing touch and closes the opening for you so you don't need to hand stitch it. I used about an 1/8" seam. I lined the top of the bag up with the inside of my quarter inch foot to keep it the same all around the bag.
You might need to take a pin and poke at the bottom corners to get them to look nice and be more square.
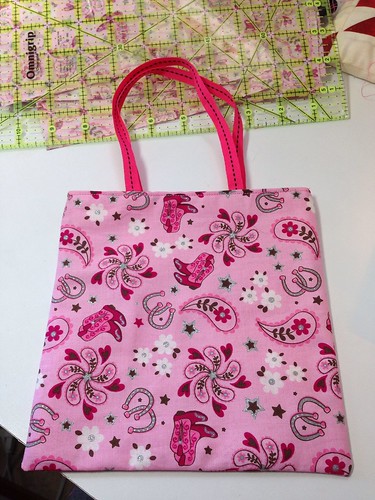
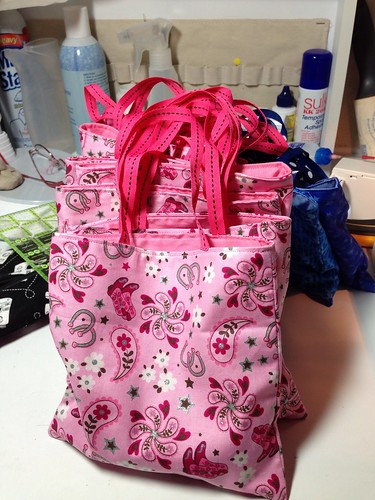
And now you have a finished gift bag!
I think one bag only took me around 20 mins. It was really quick once I got going. I made 12 total. I was up and down making them throughout the day on Saturday but I think if I would have just sat and did it all in one session it might have been only a few hours.
Here they are all stuffed and ready for my daughter to give out at her party. Everyone loved them. Well I think the girls more than the boys but they were a hit. I will definitely make these again.
You could definitely personalize these or make them more unique by using pieced or quilted sides, or maybe even leftover blocks from a quilt.
Please feel free to use this tutorial for personal use only. I would love to see what you make with it. Its such an easy bag with so much potential.
You did a great job on your tutorial.
ReplyDelete